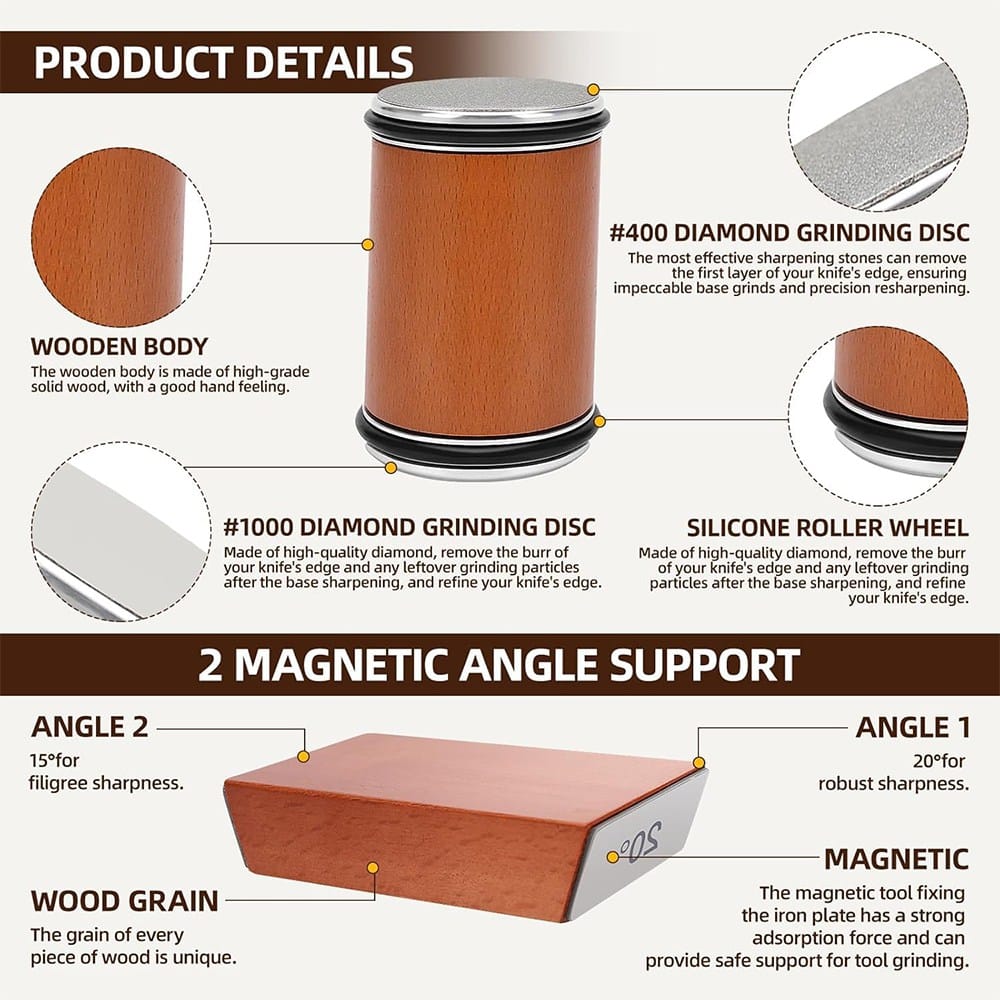
Every knife sharpening guide begins with the same assumption: that the reader knows what angle to use and can hold it. The first part is easy — consult a chart. The second part is where most beginners quietly give up.
Angle inconsistency is the single most common reason home sharpeners produce poor results. The good news is that the problem is not one of talent. It is one of method. With the right tools and a clear understanding of what “precision” actually requires, a beginner can go from a dull, wedging blade to a mirror-polished edge far faster than conventional wisdom suggests.
The sharpening angle is the degree between the blade's bevel and the abrasive surface. A few degrees can transform the same blade from a clean slicer into an edge that rolls or chips. But here is the counterintuitive part: for a beginner, the specific angle matters less than keeping it constant.
A 20-degree edge held consistently will outperform a 15-degree edge that wanders between 12 and 25 degrees across the length of the blade. Inconsistent angles create a rounded, convex bevel that never reaches a true apex. A consistent angle creates a clean “V” cross-section that cuts.
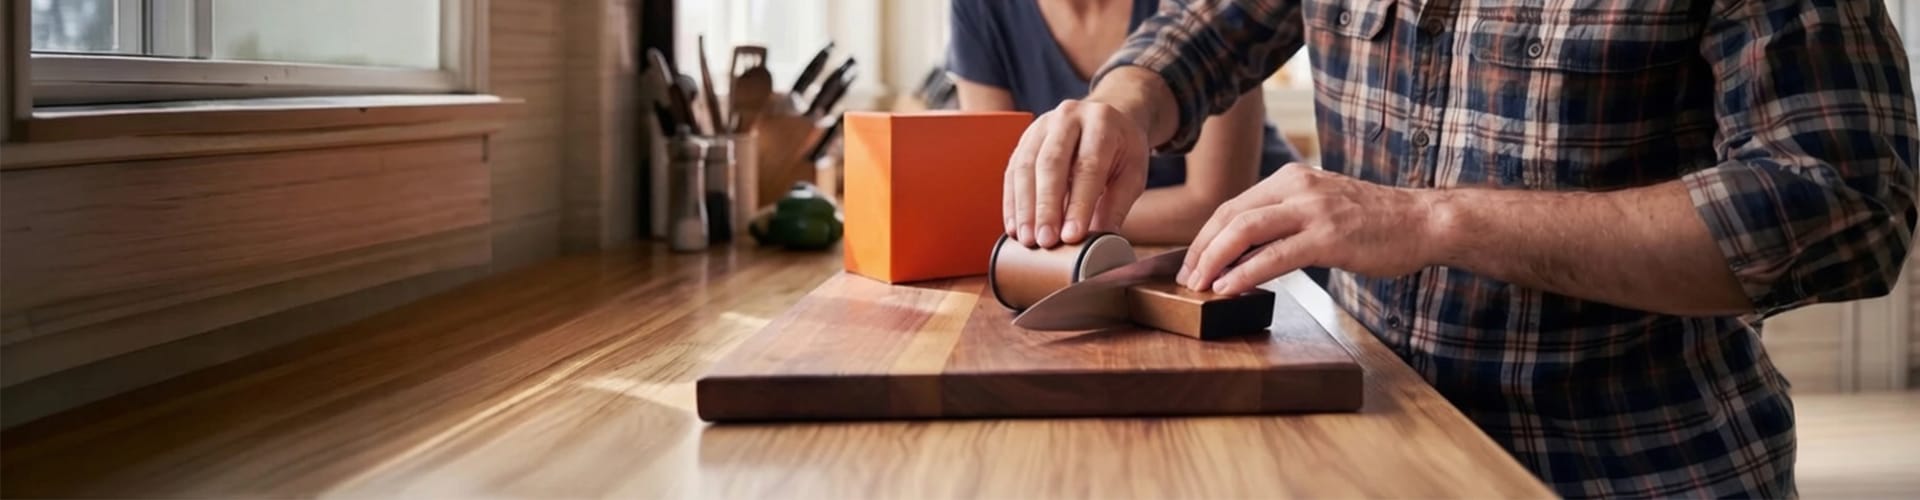
This is why the first purchase for a beginner should not be an expensive Japanese water stone. It should be a way to hold the angle steady. For bulk buyers and retailers looking to supply dependable tools, exploring options like a Wholesale Rolling Knife Sharpener can provide the mechanical stability needed to eliminate angle wandering entirely.
Freehand sharpening — holding the blade against a bench stone with no mechanical assistance — depends entirely on muscle memory. Even experienced artisans admit that holding an exact 17-degree angle for dozens of strokes is challenging. Tiny wrist deviations create double bevels and scratch patterns that trap food or accelerate dulling.
For a beginner, the learning curve is steep. Mastery can take months. The knife gets sharp eventually, but the process is frustrating, and the results are inconsistent from session to session.
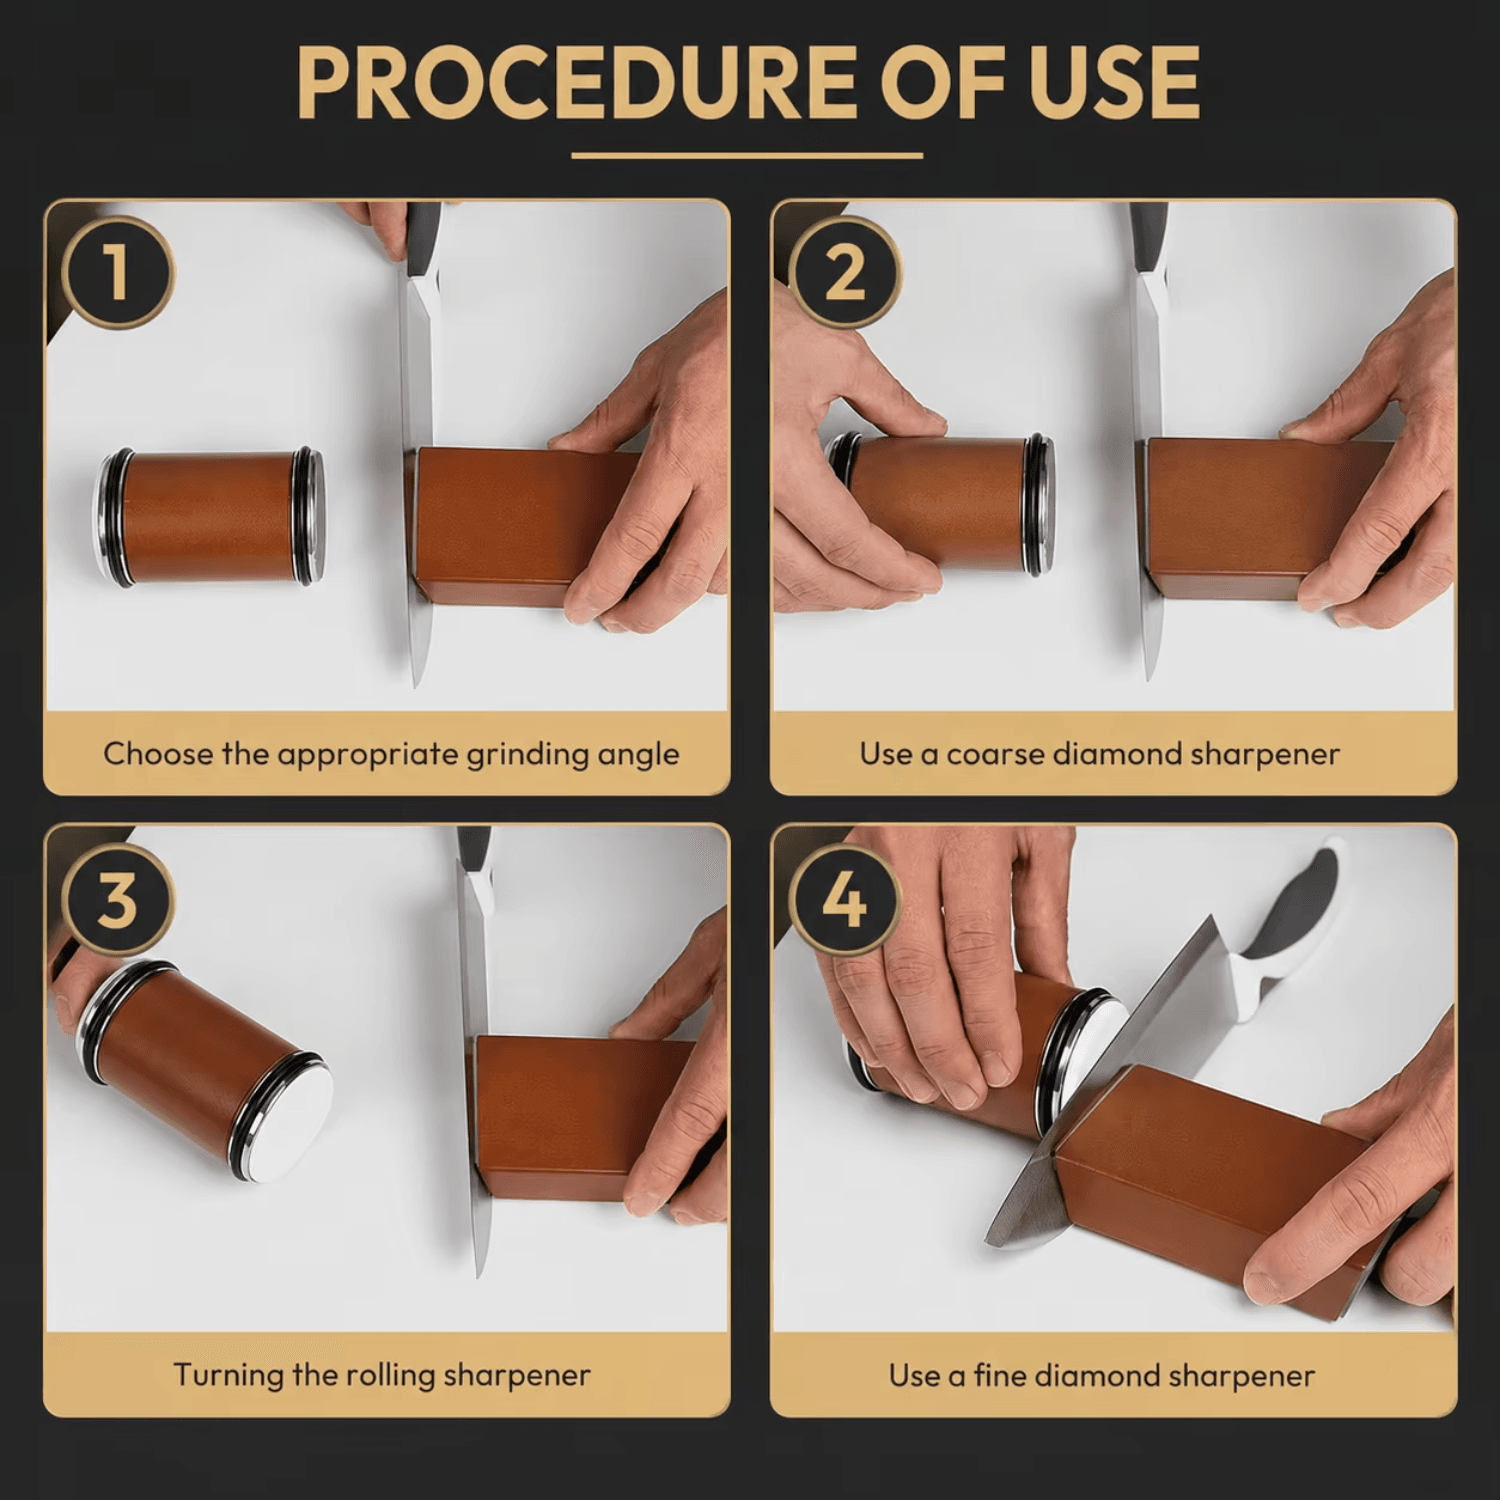
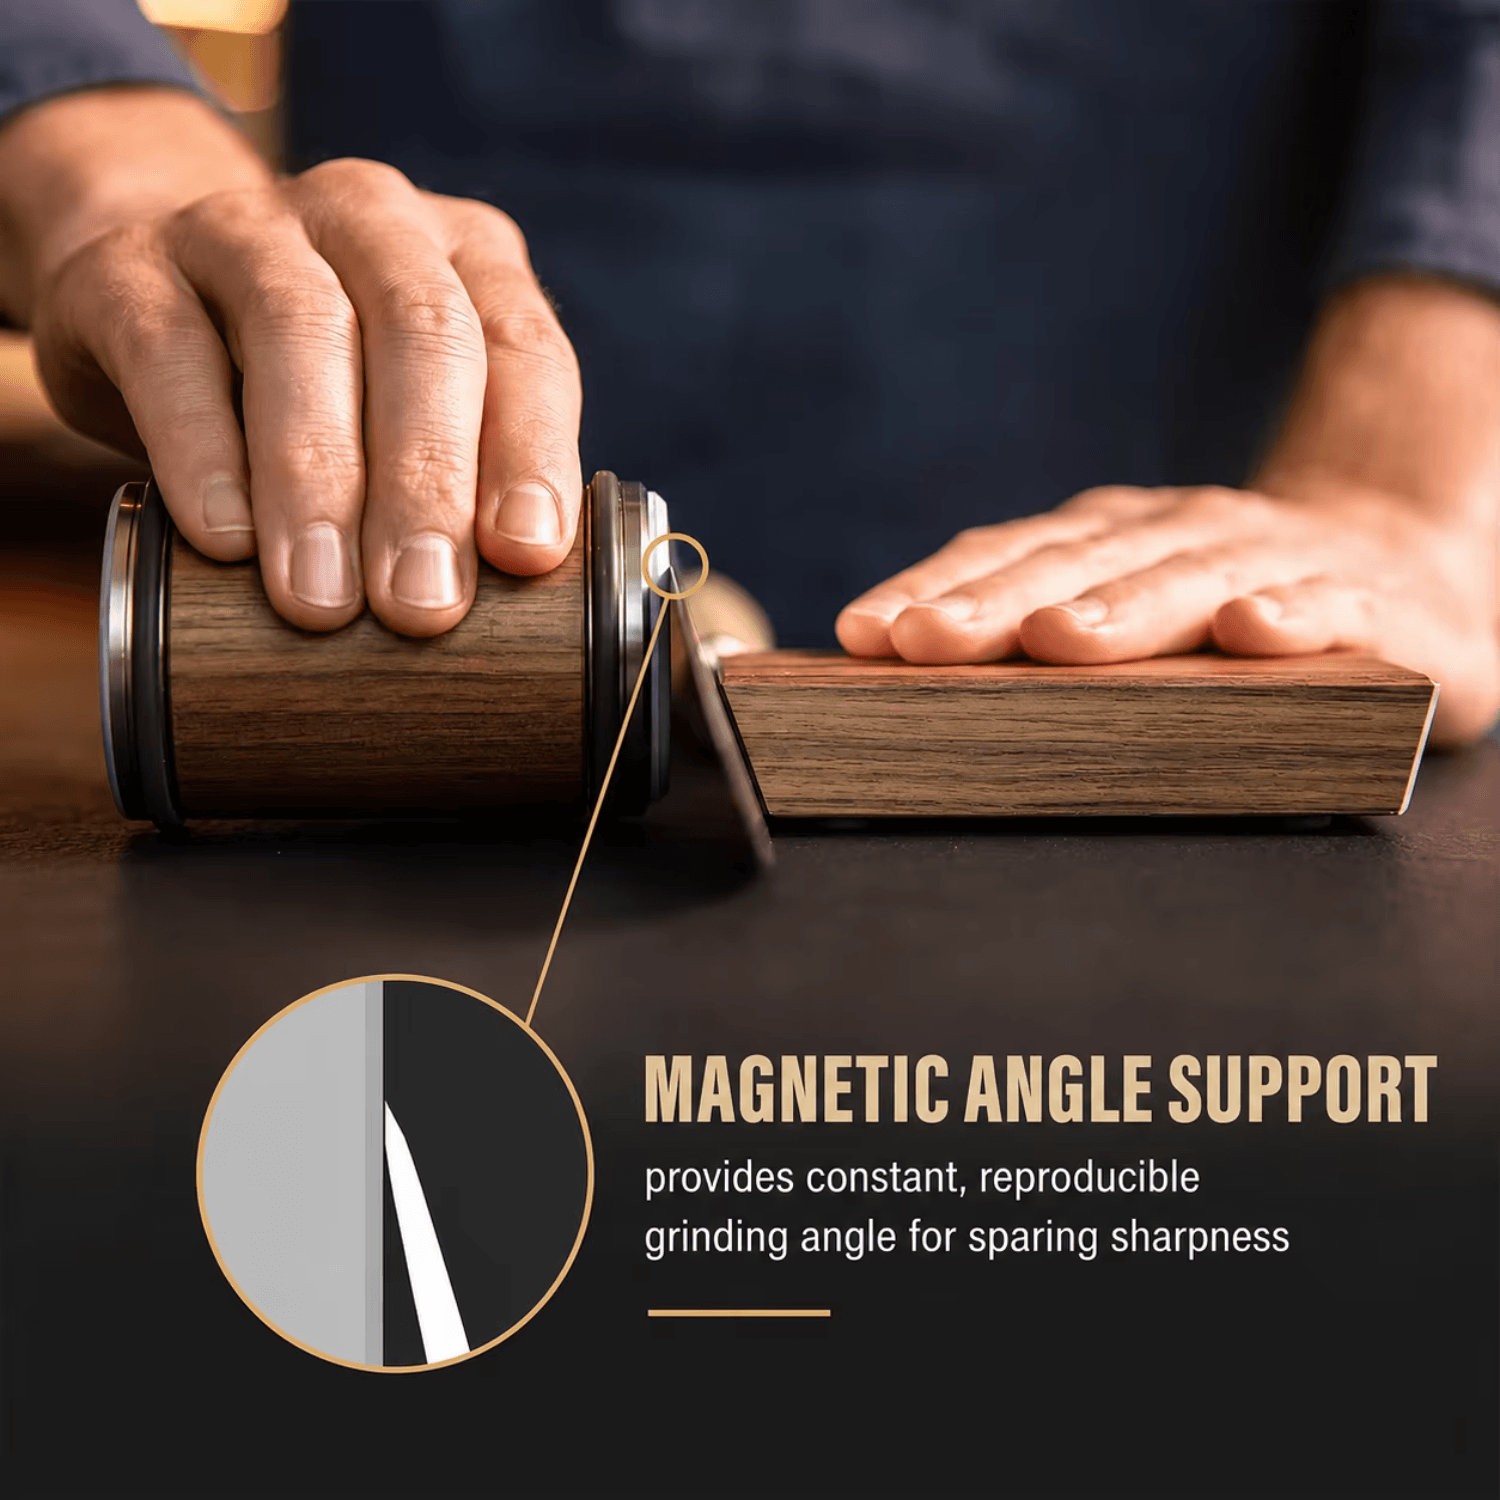
A guided sharpening system locks the blade and the abrasive at a fixed angle using a clamp, guide rods, or magnetic fixtures. The hardware holds the angle; the user focuses on pressure, stroke length, and grit progression.
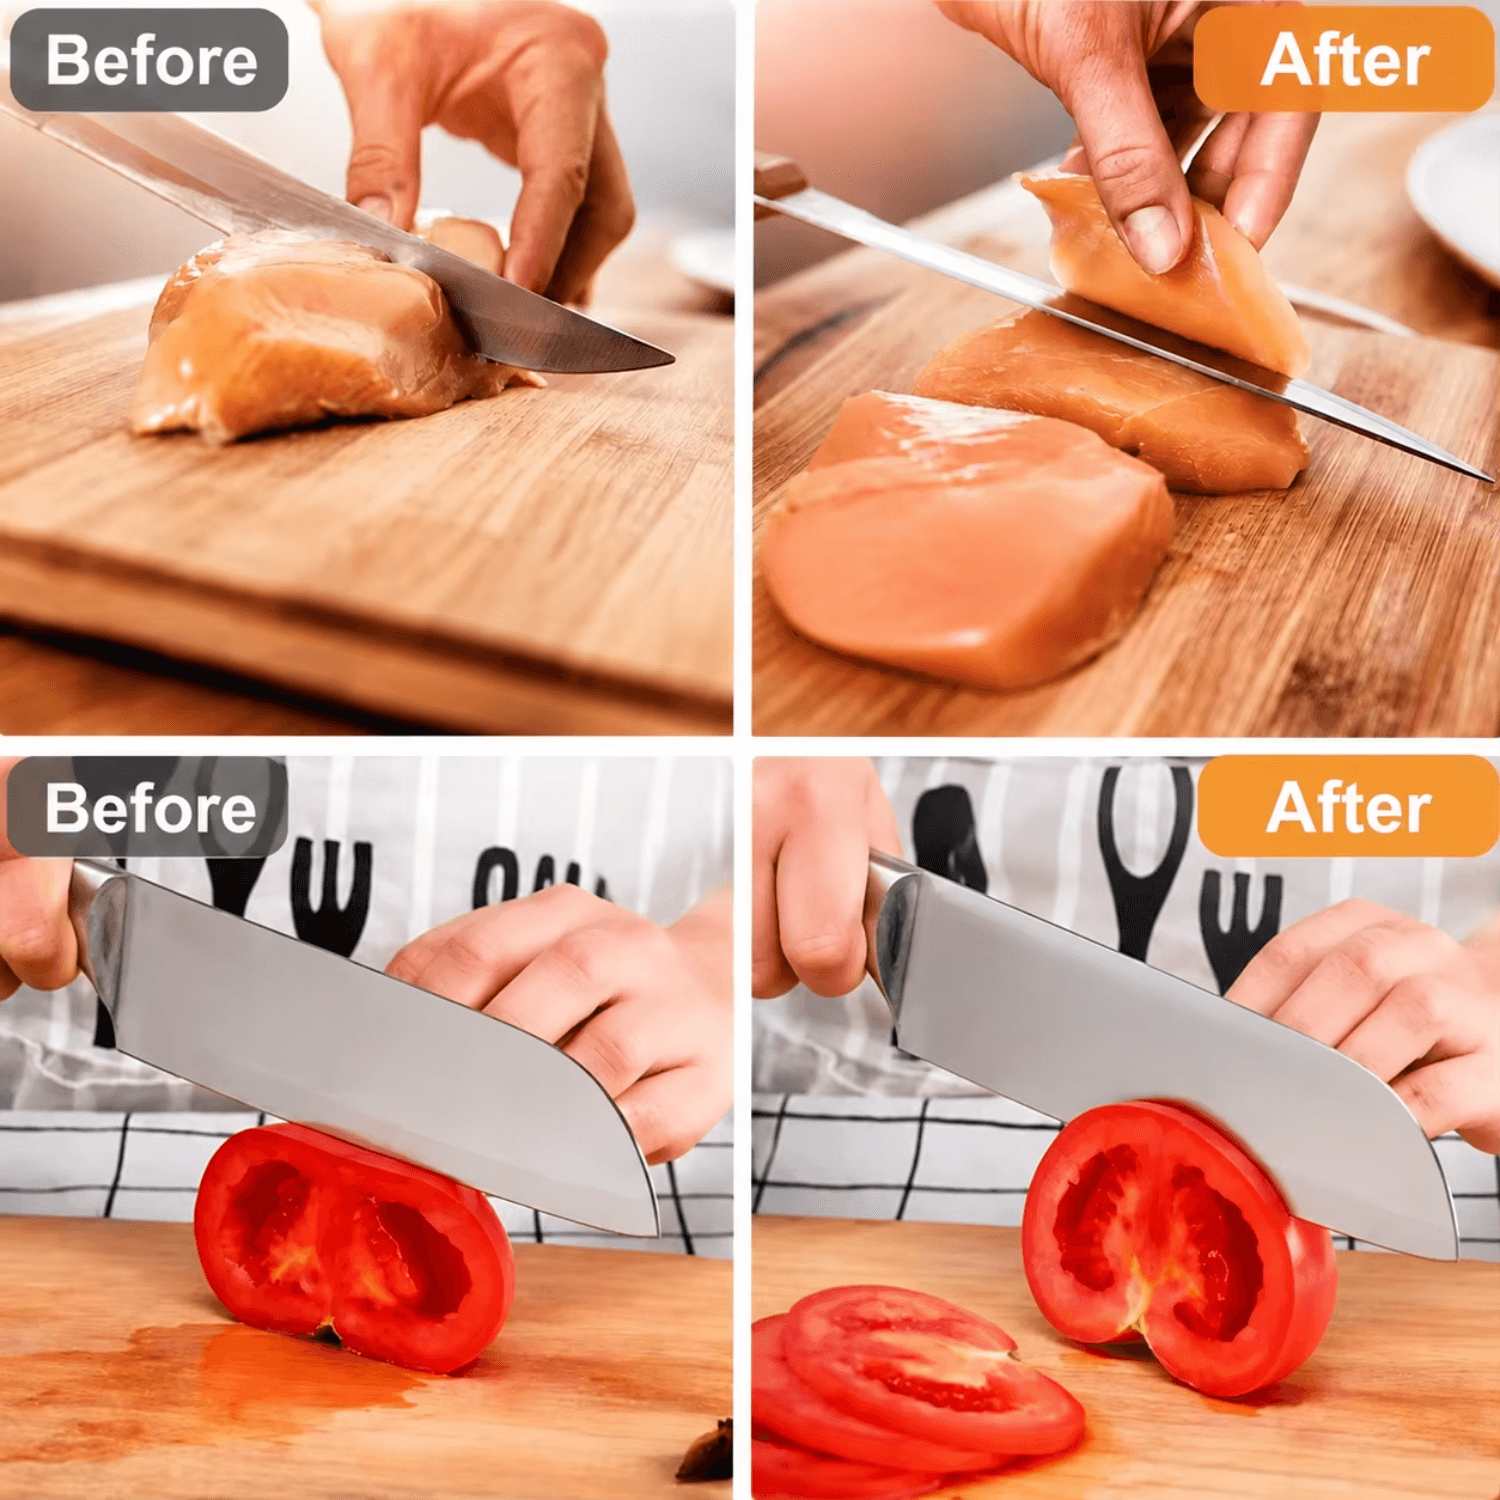
The practical effect is dramatic. Beginners routinely achieve shaving edges after a single session on a guided system, whereas freehand sharpening can require months of practice to reach the same result. Guided systems swap skill for science, delivering predictable geometry and fewer mistakes.
A professional knife restorer put it well: “Freehand sharpening is like jazz — beautiful when mastered, but full of improvisation. Guided systems are like classical music — precise, repeatable, and structured.”
Note: Just as guided mechanical systems remove human error in sharpening, precision engineering is vital in emergency safety gear. For reliable home and workplace protection, explore our Dual-Tube Manual Choking Rescue Device designed for fail-safe mechanical operation.
Before sharpening, determine the correct angle for your blade. The general principle: harder steel supports a thinner, sharper edge; softer steel needs a more obtuse angle for durability.
All recommendations below are per side. A 15° per-side angle on a double-bevel knife equals roughly 30° inclusive.
| Knife Type | Recommended Angle (per side) | Why |
|---|---|---|
| Japanese gyuto / santoku | 15–17° | Hard steel holds a fine edge |
| Traditional single-bevel (yanagiba, deba) | 12–15° (bevel side only) | Flat side is not sharpened |
| Western chef's knife | 20–22° | Balanced durability and sharpness |
| Pocket / EDC knife | 18–22° | Stable working edge for utility cuts |
| Hunting knife | 18–22° | Withstands field use and bone contact |
| Fish fillet knife | 12–15° | Glides through delicate flesh |
| Meat cleaver / bone chopper | 25–30° | Thick bevel absorbs bone impact |
| Machete / kukri | 24–28° | Resists impact and abrasion |
For a first knife, a Western chef's knife at 20° per side is the most forgiving choice. It is durable enough to handle board contact and general prep work, and the angle is wide enough that minor inconsistencies are less punishing.
Color the entire bevel with a permanent marker. Make a few light strokes on the sharpening surface. Inspect where the ink has been removed:
The Sharpie trick is the single most useful diagnostic for a beginner. It turns an abstract angle into a visible result. Marking the bevel also helps confirm you are contacting the correct surface throughout the sharpening process, particularly when learning.
Plastic wedge guides snap onto the spine of the knife and hold the blade at a predetermined angle — typically 15°, 20°, or both. The guide stays on the blade during sharpening, so you do not need to maintain the angle manually. This is the most direct solution for a beginner: the hardware does the work.
These guides are inexpensive (often under $5) and available in sets covering 10° through 20°. They work with both whetstones and sandpaper setups. For a beginner learning muscle memory, a guide provides immediate feedback and builds correct habits from the first session.
Stack coins under the spine of the knife while the edge rests on the stone. For a 1-inch-wide blade:
The formula is: Height = Blade Width × tan(Angle). This method is crude but effective for establishing a starting angle. It is less useful for maintaining that angle through a full sharpening session.
Once the angle is set and held consistently, the sharpening process follows a predictable progression. The goal is not to remove more metal than necessary, but to replace coarse scratches with progressively finer ones until the bevel reflects light uniformly.
A practical progression for a beginner:
| Stage | Grit | Purpose | What to Look For |
|---|---|---|---|
| Reshaping (if needed) | 320–400 | Remove chips, set new bevel | Burr forms along full edge |
| Sharpening | 800–1000 | Create the apex | Burr “trades” to opposite side |
| Refining | 2000–3000 | Remove scratches, refine edge | Burr becomes smaller, harder to feel |
| Polishing | 5000–6000 | Begin mirror finish | Bevel reflects light |
| Mirror finish | 8000+ | True reflective polish | Bevel acts like a mirror |
A 400/1000/3000/6000 progression covers everything from dull to near-mirror. For a true mirror finish, an 8000-grit or finer stone is needed. However, the jump from 3000 to 8000 is significant; many beginners find that a 6000-grit finish is already sharper than anything they have used before.
The burr is the key indicator at every stage. Work one side until a slight burr forms along the opposite edge — a tiny fold of metal you can feel with a fingertip. Once the burr runs the full length of the blade, flip and repeat. The burr should become progressively smaller and more difficult to detect as you move through the finer grits.
After the finest stone, a leather strop refines the edge further. Stropping is done by pulling the blade backward so the cutting edge trails behind. The goal is not to remove more steel, but to polish the apex. Denim wrapped around a flat surface or even a stack of printer paper provides enough abrasion to polish the edge if a strop is not available. For enhanced durability and custom manufacturing requirements, many hardware lines feature a sturdy Rolling Knife Sharpener – Aluminum body or a robust Rolling Knife Sharpener – Stainless Steel Body to ensure long-lasting performance.
For kitchen tools and culinary safety accessories, make sure to browse our full catalog of Anti-Choking Safety Devices for household and commercial kitchens.
Can a beginner master precision angles? Yes — but not by pretending that freehand sharpening is easy.
The beginners who succeed are the ones who use a guide. Whether it is a clip-on plastic wedge, a magnetic angle block, or a full guided rod system, the principle is the same: remove the variable you cannot control, and focus on the variables you can. Pressure, stroke consistency, and grit progression are all learnable. Wrist angle stability under load is not — at least not quickly.
A guided setup shortens the learning curve from months to a single session. The beginner gets a sharp knife on day one, which builds the confidence and motivation to keep practicing. Over time, the muscle memory develops naturally, and the guide becomes a reference rather than a crutch.
The mirror finish is not a beginner's goal. It is a milestone that arrives after the basics are solid. The first sharp knife — the one that glides through a tomato without bruising it — is the real achievement. The mirror comes later, and it comes more easily than expected once the angle stops fighting back.
🏭 DAQIDA Factory Qualification Certificates & Injection Molding Expertise
As a professional direct source factory, DAQIDA masters advanced plastic injection molding processes, DFM optimization, and strict production discipline backed by our official qualification certificates:
• Explore our full manufacturing capabilities via the DAQIDA Product Catalog ➔
Avoid common mass-production pitfalls like shrinkage and warping. Partner with DAQIDA for professional OEM and ODM manufacturing solutions built on precise DFM analysis, stable process control, and rigorous factory quality standards.
No account yet?
Create an Account